How to Take DV Lottery Photo at Home
Last Update: December 28, 2025
Taking a photo for the Diversity Visa (DV) Lottery can be a daunting task, especially if you don't have access to a professional photographer. However, with a few simple steps, you can take the perfect photo for your DV Lottery application from the comfort of your own home.
Firstly, make sure you have the right equipment. You will need a digital camera or smartphone with a high-resolution camera, a tripod or something to hold your camera steady, a plain white or off-white background, and good lighting.
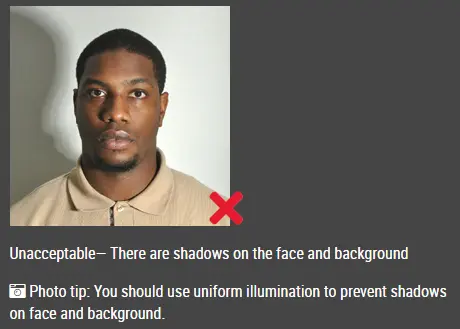
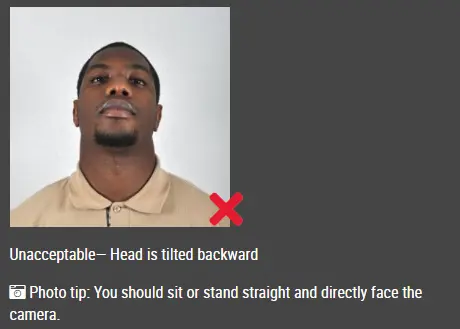
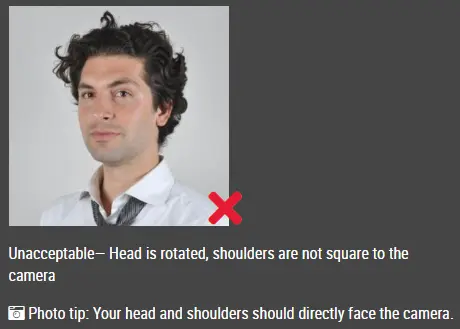
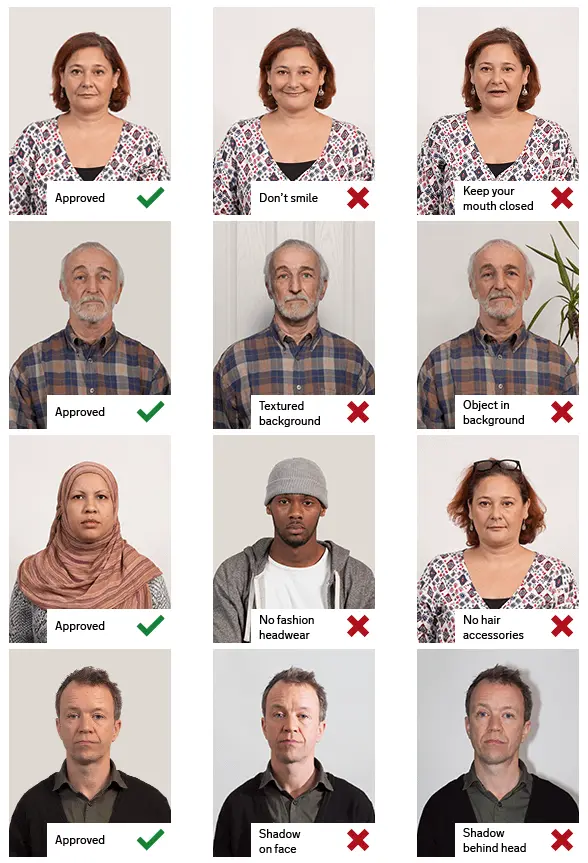
Next, set up your equipment in a well-lit area background behind you. Make sure there are no shadows or reflections on the background. Stand in front of the background with your shoulders and head straight, facing the camera.
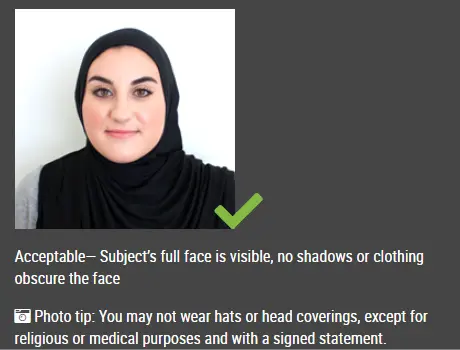
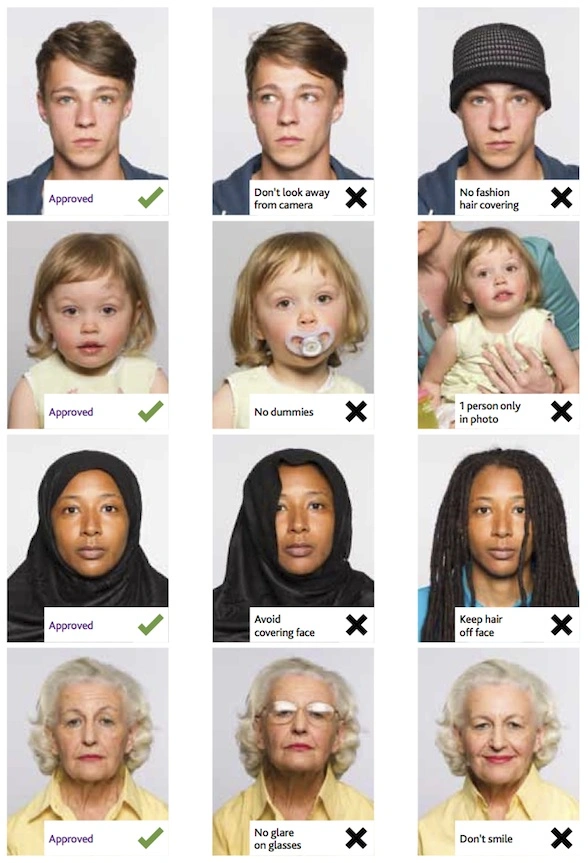
When taking the photo, make sure you follow these guidelines:
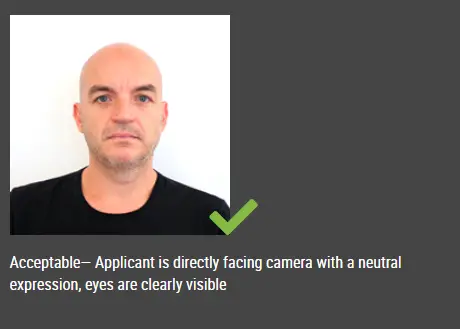
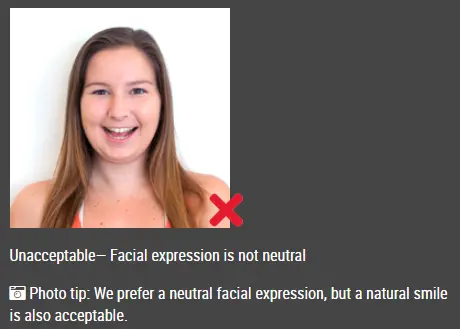
- Look directly at the camera with a neutral expression and both eyes open.
- The photo should be taken from the shoulders up with the top of your head and hair visible.
- The photo should be in color and in focus.
- The photo should be taken within the last six months.
Once you have taken the photo, review it to ensure it meets the requirements. If it doesn't, retake the photo until you get the perfect shot. After that, use the passport photo editor to help you to generate the photo that meets size requirements.
In summary, taking a DV Lottery photo at home is easy and straightforward with the right equipment and following the guidelines. By taking the time to get a good photo, you increase your chances of being selected for the DV Lottery.
Other articles about DV lottery photos
-
Best Lighting for DV Lottery Photos: A Simple, Home-Friendly Guide
-
How to Split Photos Like a Pro with IDPhotoDIY’s Free Image Splitter
- DV Lottery Photo Common Errors
- Baby DV lottery photo